Saturday, September 27, 2008

Color Table Usage - Photoshop

From time to time, I enjoy making my own papers to coordinate with a specific photo. When I first started working with Photoshop, I would use the eyedropper tool to select a color, but if I had selected several colors, it become difficult to duplicate that color. That is when I found out about color tables!!!

First step - open up the photo that you are scrapping and duplicate that photo to a new document and close the original. The process that will be described here atually alters the photo somewhat and this will prevent inadvertantly replacing the original photo. Also, verify that the Color Swatch window is visible. You can do this by Window --> Color Swatch.


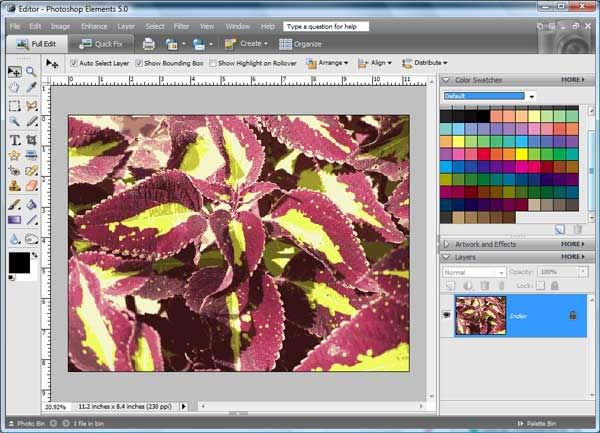
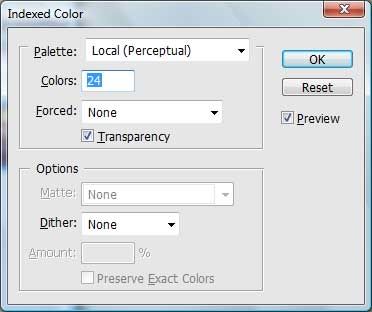
Verify that you are in fact in that new document with the copy of the photo. Now, click on Image --> Mode --> Indexed Color. By default this will display a Color value of 256. For me that is just too many colors to choose from, I typically find that 24 is much more to my liking.


Here is the resulting Color Table.


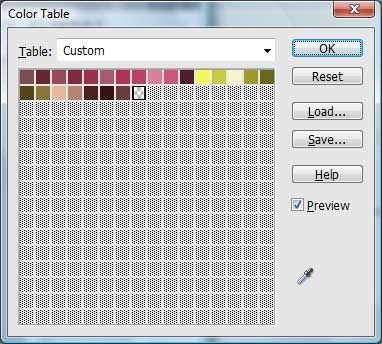
Next, we will want to save that Color Table. I have a special folder where I save my color tables. To save the Color Table, click on Image --> Color Table --> Save. Navigate to your Color Table Folder. Notice that the extension on your fill will be .act


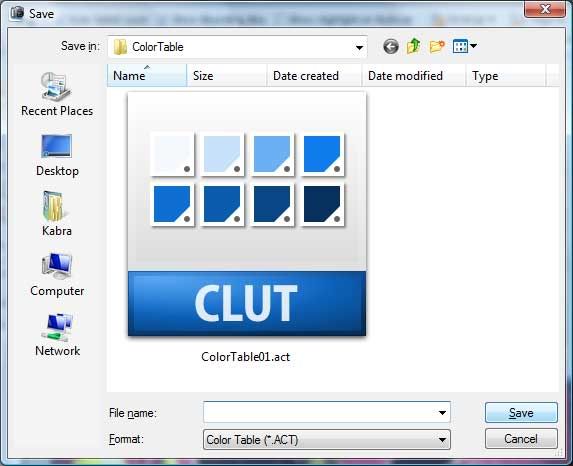
Now that we have the color table saved, we need to load it into the Color Swatches window. To do this, on the Color Swatch window, click on More --> Replace Swatches (the Load Swatch option will append your new color table to the existing one). Again, navigate to your Color Table Folder.


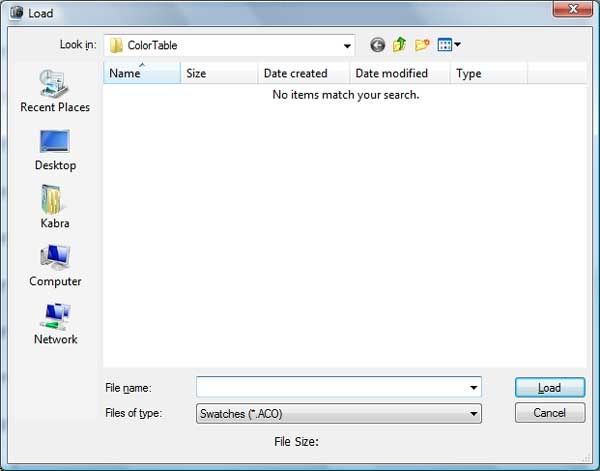
You will notice that the extension is .aco, change this to .act and your saved color table will appear.


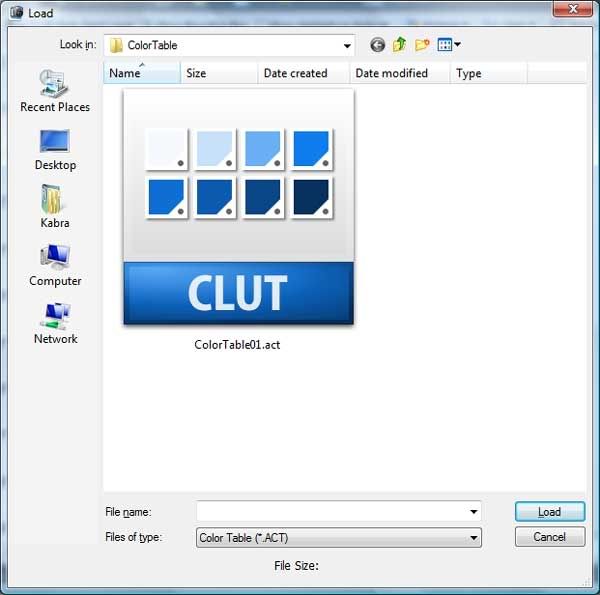
Click on that and notice that the swatch has now changed.


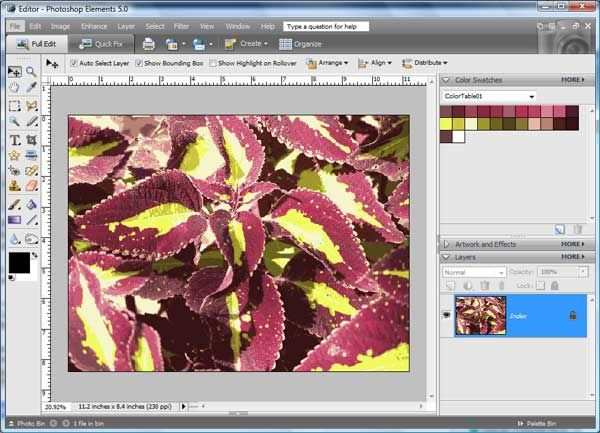
Close the document and do not save it. Open your new document and you are ready to create!!!

As a note, I have found it much easier to go back to the default color swatch if I have saved a copy of it in my Color Table Folder first. To do this, click on More in the Color Swatch window and Save. Navigate to your Color Table folder and supply the name Default.aco - after you are done with your current project, you can just replace the color table with the default.

Tuesday, April 15, 2008

Creating "Clickable" Links for Gallery Credits

When posting a layout in a gallery, we should always credit the products that were used on the page. Maybe it is because I just have too many things swimming around in my head, but I usually like to see those nice tidy clickable links or hyperlinks instead of the entire URL. I can usually remember the name of the designer and item, but the URL is just too much for me to store away even for a little while. I have found there are a couple of ways to create those clickable hyperlinks. But, remember, before you use either of these methods, please be aware of the posting guidelines for the the site!!! Some sites will only allow hyperlinks to products from their store while other sites have a more open policy regarding credits. Always check!!!

There are two methods to create a hyperlink. The method to use depends on whether the site uses BB Code or HTML as the basis for their site. Sites such as Scrapbook Elements, DigiShop Talk, Digi Chick and Digital Freebies use the BB Code method. Treasures to Scrap uses the HTML method. If you try one approach and the results are just what you typed in, then you will want to edit that photo and switch to the other method.

BB Code Method (used at SBE, DST, DC, DF)
FORMAT:
[url=LINKTOPRODUCT]Product Name[/url]

EXAMPLE:
[url=http://store.scrapbook-elements.com/index.php?main_page=product_info&products_id=13218]Rina Kroes' Some Enchanted Evening[/url]

Typically, with this method, if you have several credits, you can atually create a list by simply pressing "enter" at the end of the line!!

HTML Method (used at Treasures To Scrap)
FORMAT:
<a href="LINKTOKIT" target="_blanc">NAMEOFKIT</a>

EXAMPLE:
<a href="http://digistore.treasurestoscrap.com/index.php?main_page=product_info&products_id=993" target="_blanc">Rina Kroes' Bling String Embellishment Set</a>

If you have several credits, this method is a little tricker to use. You will find that you will need to use the <br> HTML code to create a line break.