

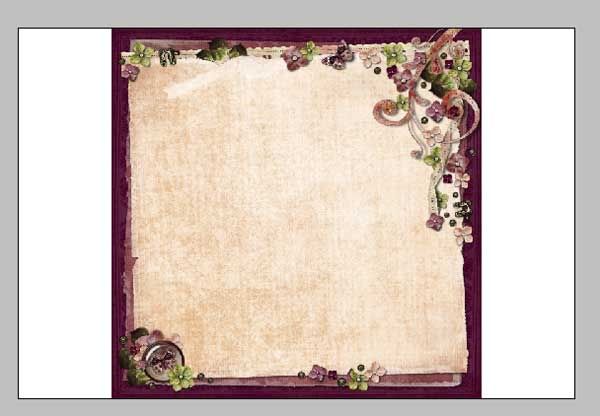
Start by creating a new page in PSE and for my brag book, I set the size to 6 inches wide by 4 inches high and open the stacked paper that you want to use. In this case, I selected a paper from Rina's Some Enchanted Evening Stacked Papers. With PSE, I can drag and drop from the Photo Bin to my project and PSE will automatically center and resize the object retaining the original ratio. Here's what the page looks like at this point.
Now, you need to examine the paper that you have selected to determine a good place to cut in order to resize the paper. In this case, the cleanest area is diagonally from the left to the right. Once I have a game plan, I can continue.
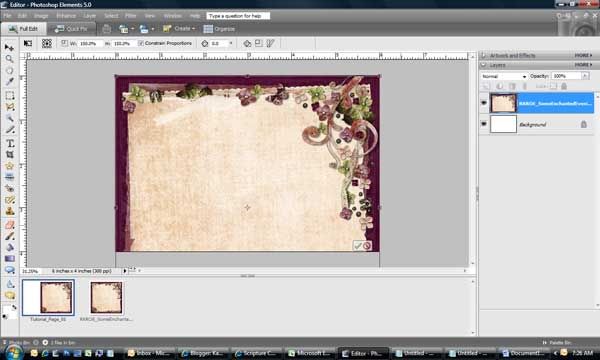
I need to resize the page to fill the work area. In order to do this, I like to select both the paper layer and background layer and use the Align feature in PSE to align the two layers on the right.
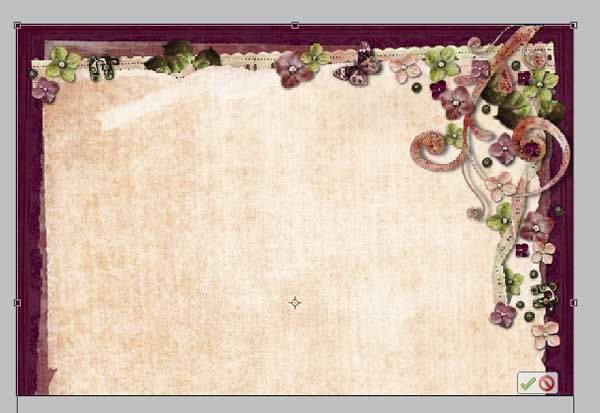
Next, we want to resize the stacked paper layer to fill the 4x6 area horizontally. I use one of the corner handles to maintain the ratio. Photoshop CS3 note: to lock the ratio, hold down the Shift key while dragging (this is the default in Photoshop Elements). DO NOT simply drag the resize handle to the left, that will distort the proportions!!! Alternately, you can manually set the proportions (Alt+T, then change the height / width to 150%)
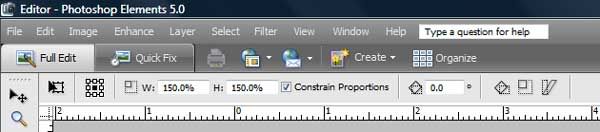
Here's a look at the Transform area of the PSE screen
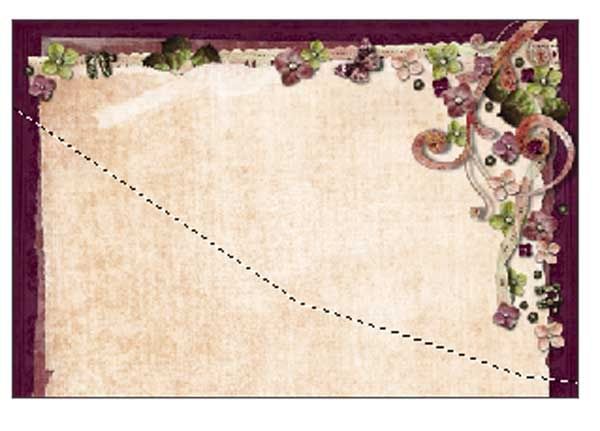
Now, notice that we have our work area filled, but the bottom is hanging off the screen, we are going to fix that now. Figure out where a "clean" line is for our changes. In this case, I want to slice the page diagonally from the upper left to the lower right. This part will vary!!!
First, it will work so much better if you zoom out on your screen. Next, select the polygonal lasso tool and plan your course and start drawing. Below you will see my area - notice that I have selected an area without embellishments.
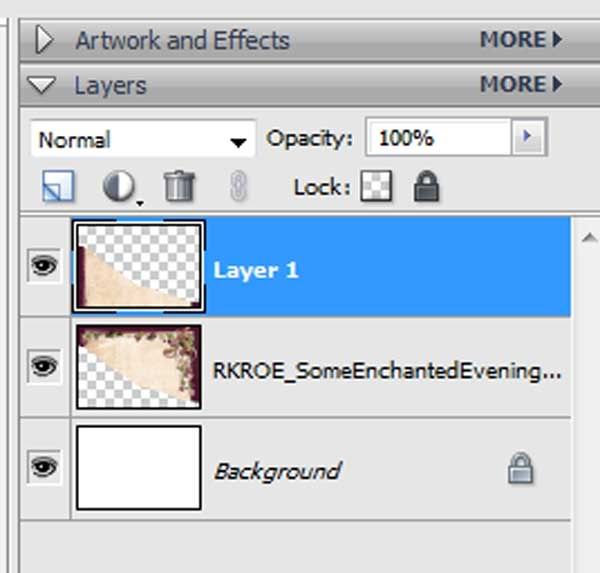
Next you want to "cut" the selected area and split the stacked paper. To do this you can use either Layer --> New --> Layer via Cut or Shift+Ctrl+J. Notice the 2 layers now in your Layers Palette.
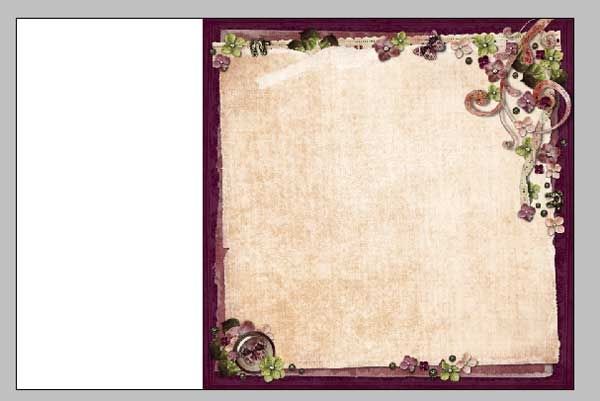
Now, we need to move the new lower part of the paper up to align with the bottom of your work area.
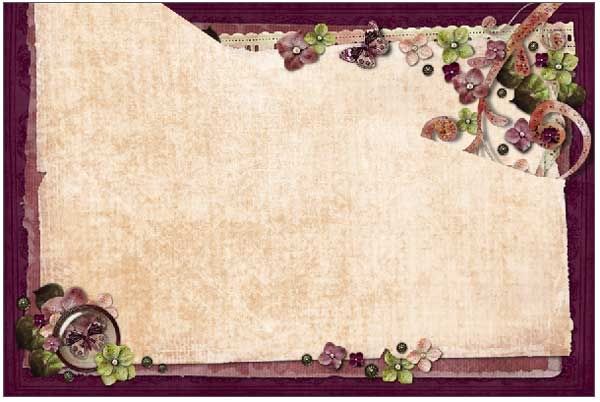
We are getting much closer to a fabulous background, but there are 2 more steps that we need to do. First, we need to carefully erase the overlapping area. Since I'm always a "nerveous Nelly", I like to copy the bottom part of the page and hide it in case I really mess up with the erasing. To do my erasure, I select a soft brush that is included in PSE5.0's Basic Brushes. Here's what my page looks like after I have erased the overlapping area.
The final step is to delete the hidden layer and to merge the two stacked paper layers. Sometimes, I'll then save that as a full-sized jpg file if I think I may use it again later, that way, I've saved myself some time in the future!!!
Here are a couple of examples where I've used this technique.
 Rina Kroes' Meadow Breeze Stacked Papers
 Rina Kroes' Something Nautical Stacked Papers
 Rina Kroes' Joyful Awakening Stacked Papers
 Rina Kroes' Teen Tude Stacked Papers
Final Notes
If you end up with a bit of a "jagged" alignment, just add an embellishment to cover it up and nobody will ever know!!!
This is also a technique that I use to resize a frame that may be square when I really need a rectangular frame or vice versa!!! I often do not want to alter the width of the frame itself!!! I use this ALL the time!!!
2 comments:
Excellent tut Kabra! Thank you!!!
This is AWESOME!!!! Love the picture tutorial. This helped a lot.
Post a Comment